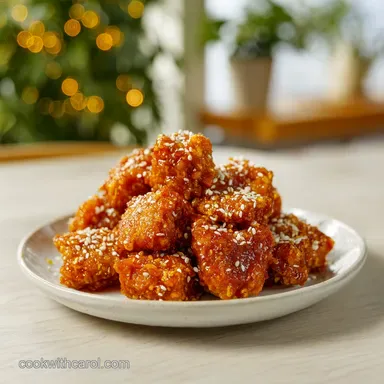
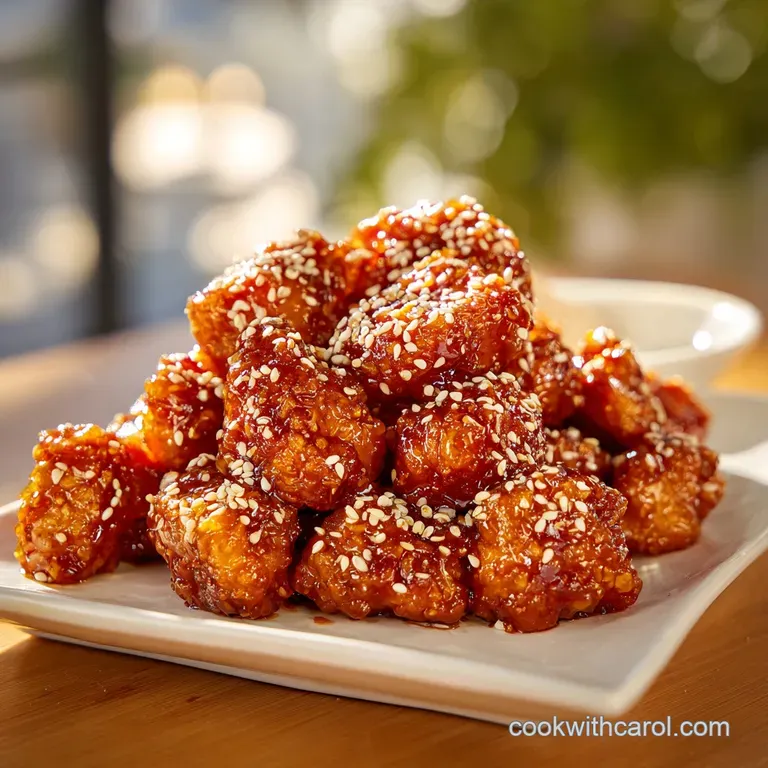
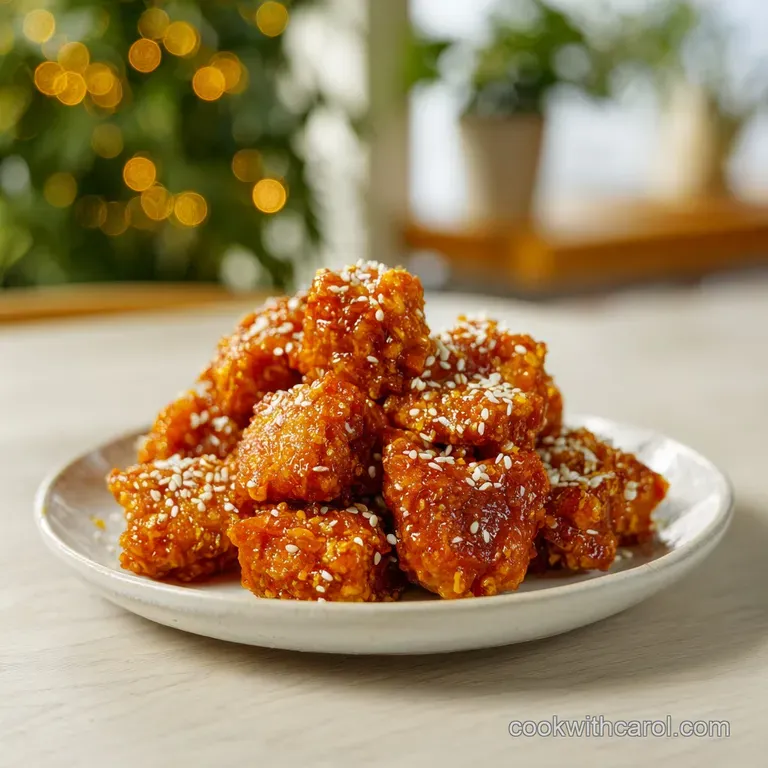
Crispy Sweet Sesame Chicken: Better Than Takeout
- Time:15 minutes prep + 15 minutes cook = Total 30 minutes
- Flavor/Texture Hook: Glossy, sticky glaze with a shatter crisp chicken crunch
- Perfect for: Quick weeknight dinners that feel like a treat
Get That Crispy Sweet Sesame Chicken Crunch
The first thing you'll notice is that aggressive sizzle the second the chicken hits the oil. It's a sound that tells you everything is going right. Then comes the aroma, that sharp, punchy scent of fresh ginger and garlic hitting the heat, mixing with the sweet smell of bubbling honey.
It's an instant mood lifter in the kitchen.
I remember the first time I tried to make this at home. I was way too lazy to pat the chicken dry, thinking a little moisture wouldn't matter. Big mistake. The coating slid right off in the pan, leaving me with sad, steamed nuggets of meat.
After I learned to actually dry the meat and use a proper cornstarch dredge, everything changed.
This Crispy Sweet Sesame Chicken is all about that contrast. You want a coating that's thin enough to stay light but strong enough to withstand a heavy glaze. It's a bit of a balancing act, but once you get the timing down, you'll never go back to the delivery boxes.
Trust me on this, the homemade version just hits different.
The Quick Recipe Specs
When you're rushing through a Tuesday night, you need to know exactly where you stand with your timing. This recipe is designed for speed without sacrificing that takeout style texture. We're looking at a very tight window, and since we're using breast meat, we have to be careful not to overcook it into rubber.
The goal here is a fast sear and a quick glaze. If you leave the chicken in the sauce for too long, that beautiful crunch we worked so hard for will vanish. We're aiming for a "flash toss" where the sauce clings to the exterior but doesn't penetrate the crust.
It's the difference between a soggy meal and a professional grade dinner.
| Thickness | Internal Temp | Rest Time | Visual Cue |
|---|---|---|---|
| 1 inch cube | 165°F (74°C) | 2 mins | Golden brown and firm |
Since we're working with smaller pieces, the carryover cooking is minimal, but letting them sit on a wire rack for two minutes before the final toss allows the crust to set. This prevents the coating from peeling off when you hit it with the honey glaze.
Smart Shopping List Breakdown
Getting the right ingredients is half the battle. I've found that using a decent honey makes a huge difference over the cheap, processed syrups. You want something with a bit of floral depth to balance the saltiness of the soy sauce.
If you're on a budget, store brand honey is fine, but don't go for the "honey flavored" corn syrup stuff.
For the chicken, breast is the standard for that clean, lean bite, but if you prefer something juicier, you can swap in thighs. Just be aware that thighs take a few minutes longer to cook through.
I always keep a stash of toasted sesame seeds in the pantry because they add that nutty finish that ties the whole thing together.
| Original Ingredient | Substitute | Why It Works |
|---|---|---|
| Honey (1/3 cup) | Maple Syrup (1/3 cup) | Similar viscosity and sweetness. Note: Adds a distinct woody, autumnal flavor |
| Rice Vinegar (1 tbsp) | Apple Cider Vinegar (1 tbsp) | Similar acidity level. Note: Slightly fruitier, less "sharp" than rice vinegar |
| Cornstarch (1/2 cup) | Potato Starch (1/2 cup) | Similar starch properties. Note: Often creates an even crispier, lighter crust |
| Vegetable Oil (1/2 cup) | Canola or Peanut Oil (1/2 cup) | High smoke point. Note: Peanut oil adds a subtle richness common in authentic cooking |
Right then, let's talk about the cornstarch. According to Serious Eats, using a starch based coating instead of flour creates a more porous, crispier surface that's better at gripping sauces. This is exactly why this recipe avoids all purpose flour.
The Essential Kitchen Gear
You don't need a professional kitchen to pull this off, but a few specific tools make the process way smoother. A large non stick skillet or a carbon steel wok is your best friend here. You need the surface area to fry the chicken in a single layer.
If you crowd the pan, the temperature drops, and you'll end up boiling the chicken in oil instead of searing it.
I highly recommend using a wire cooling rack for the fried chicken. If you put the hot chicken on a paper towel, the bottom side often steams and gets soft. A rack allows air to circulate around the entire piece, keeping the crunch intact while you prep the sauce. It's a small detail, but it's a total game changer.
For the prep, a sharp chef's knife is key for getting those 1 inch cubes uniform. If some pieces are tiny and others are huge, the small ones will overcook by the time the big ones are safe to eat. Just take an extra minute to keep your cuts consistent.
Bringing The Dish Together
Let's crack on with the actual cooking. I've broken this down into phases so you can organize your station. The most important thing is to have your sauce ingredients measured and ready in a small bowl before the chicken even touches the oil. Once that sauce starts bubbling, things move fast.
The Coating Phase
First, pat the chicken cubes completely dry with paper towels. This is the non negotiable step. If the chicken is wet, the egg won't stick, and the cornstarch will turn into a gummy paste instead of a crisp shell. In one bowl, whisk the egg; in another, combine the cornstarch, salt, and pepper.
Dip each piece of chicken into the egg, then toss in the cornstarch mixture until fully coated in a powdery layer. Don't over mix them in the bowl or they'll clump together. I like to do them in small batches, shaking off the excess starch so the coating stays thin and shatter crispy.
The Searing Phase
Heat the vegetable oil over medium high heat in your skillet until it shimmers. If you're unsure if it's hot enough, drop a tiny pinch of cornstarch in; if it sizzles immediately, you're good to go. Fry the chicken in a single layer for 3-4 minutes per side until golden and firm.
Remove the pieces and drain them on that wire rack. While they rest, wipe out the excess oil from the pan, leaving about 1 tsp. This keeps the sauce from becoming a greasy mess and allows the aromatics to toast properly.
The Glaze Reduction
Add the minced garlic and ginger to the pan, stirring for about 30 seconds until they smell fragrant. Don't let them brown too much or they'll turn bitter. Pour in the honey, soy sauce, rice vinegar, and sesame oil.
Simmer the mixture for 2-3 minutes. You're looking for the sauce to bubble and thicken into a glossy syrup. It should look like a thick glaze that would slowly drip off a spoon. If it's too thin, give it another 30 seconds, but keep a close eye on it so the honey doesn't burn.
The Final Toss
Return the fried chicken to the pan. Turn the heat up to high and toss quickly for 60 seconds until every piece is coated in the glaze. The goal is a thin, velvety layer of sauce, not a soup.
Remove from the heat immediately. Garnish with the toasted sesame seeds and sliced green onions. The heat from the chicken will toast the seeds slightly and soften the onions just enough to release their flavor.
Fixing Common Cooking Mistakes
Even the best of us hit a snag sometimes. Most issues with this recipe come down to temperature or moisture control. If your chicken isn't hitting that perfect crunch, it's usually because of one of three things: the oil wasn't hot enough, the pan was too crowded, or the chicken was too damp.
Troubleshooting Common Issues
| Issue | Solution |
|---|---|
| Why The Coating Sloughs Off | This usually happens because of "steam pockets" between the meat and the starch. If the chicken isn't patted dry, moisture gets trapped. When it hits the oil, that moisture turns to steam and pushes t |
| Why The Sauce Stays Watery | If your glaze isn't thickening, you might have added too much liquid or didn't simmer it long enough. The honey needs time to reduce and concentrate. If you're in a rush and it's still too thin, a tin |
| Why The Chicken Tastes Greasy | This occurs when the oil temperature drops too low, causing the chicken to soak up the fat rather than searing it. Work in batches. If you put 1.5 lbs of cold chicken into the pan all at once, the oil |
Tasty Flavor Twists
Once you've nailed the basic version, you can start playing with the flavors. This recipe is a great canvas for different profiles. If you want a bit more heat, I suggest adding a teaspoon of Sriracha or chili garlic sauce to the glaze. It adds a slow burn that cuts through the sweetness of the honey.
For a more citrusy vibe, swap the rice vinegar for a squeeze of fresh lime juice and add a bit of orange zest. This gives it a "Orange Chicken" feel but keeps the sesame nuttiness.
If you're looking for a different protein, this works beautifully with shrimp or firm tofu, though you'll need to reduce the frying time for shrimp to about 2 minutes per side.
If you're craving something different but still want that breaded vibe, you could try my Air Fryer Breaded Chicken recipe for a lower oil alternative, although the texture is slightly different than this pan-fried version.
Fresh Storage Tips
If you have leftovers, store them in an airtight container in the fridge for up to 3 days. Be warned, though: the sauce will eventually soak into the crust. You won't have that shatter crisp texture the next day, but the flavor remains just as strong.
For reheating, avoid the microwave if you can. The microwave will turn the coating into a sponge. Instead, use an air fryer at 350°F (180°C) for 3-5 minutes or a hot oven. This helps draw out some of the moisture and brings back a bit of that original crunch.
To avoid waste, use your leftover green onion ends and ginger peels to flavor a vegetable stock. If you have a bit of the glaze left in the pan, don't wash it away - brush it onto some roasted carrots or cauliflower for a quick side dish. This pairs perfectly with some Roasted Broccoli to balance out the richness.
Best Serving Ideas
To make this a full meal, I always serve this on a bed of steamed jasmine rice or brown rice. The rice acts as a sponge for any extra glaze that drips off the chicken. If you want something lighter, a crisp cabbage slaw with a sesame ginger dressing provides a refreshing contrast to the sweet and salty chicken.
Another great option is serving it alongside steamed bok choy or snap peas. The bitterness of the greens cuts through the honey glaze, making the whole plate feel more balanced. For a real feast, add a side of smashed cucumber salad with garlic and rice vinegar.
If you're serving this for a crowd, put the chicken on a large platter and drizzle a bit of extra honey and a sprinkle of fresh sesame seeds over the top right before it hits the table. It makes the dish look like it came straight from a high end restaurant, but you know it only took 30 minutes.
Recipe FAQs
Why is the coating sloughing off the chicken?
The chicken wasn't patted dry. Trapped moisture creates steam pockets that push the cornstarch coating away from the meat during frying.
Why is my sauce staying watery?
The sauce wasn't simmered long enough. The honey needs 2-3 minutes to reduce and concentrate into a glossy syrup before you add the chicken.
Why does the chicken taste greasy?
The oil temperature was too low. Ensure the oil shimmers over medium high heat before frying to prevent the chicken from absorbing excess fat.
Is it true I must marinate the chicken for hours to get deep flavor?
No, this is a common misconception. The concentrated honey soy glaze and fresh aromatics provide ample flavor during the final high heat toss.
How to reheat the chicken while keeping it crispy?
Use an air fryer or oven. These methods evaporate surface moisture, whereas a microwave will steam the breading and make it soggy.
How to ensure the cornstarch coating sticks perfectly?
Pat the chicken cubes completely dry with paper towels. This removes the surface moisture that otherwise prevents the egg and starch from adhering.
What sides complement this sweet and savory chicken?
Steamed broccoli or jasmine rice are classic pairings. You can also serve it alongside some air fryer vegetable sides for a complete meal.
Crispy Sweet Sesame Chicken